Searching for a guide on how to run the SFC command on Windows 11? You are at the right place. Here, you will learn it with the necessary details.
The System File Checker, or SFC, is a very important part of Windows OS. This component can detect and correct any faults in your system files. I had many situations when my PC was not working correctly. In these cases, the SFC command acted as a lifesaver.
Why use SFC?
The main purpose of the SFC command is to scan and repair corrupted or modified system files.
It helps maintain the integrity of the operating system. Even though there are many excellent PC optimization utilities out there, the System File Checker is still the essential tool you need. Users can run the SFC command in the Command Prompt to perform a system file check and repair any issues found.
How do I Run the SFC Command?
Running the SFC command is very easy. Usually, the pattern of this command is like the following:
SFC [option]
It means you can type SFC and then add options like /scannow, /verifyonly, etc., according to your own preference. You can find all the SFC options here.
For example, to run the SFC scannow command on Microsoft Windows 11 or 10, you can follow these methods:
1. Run SFC using Terminal or Command Prompt:
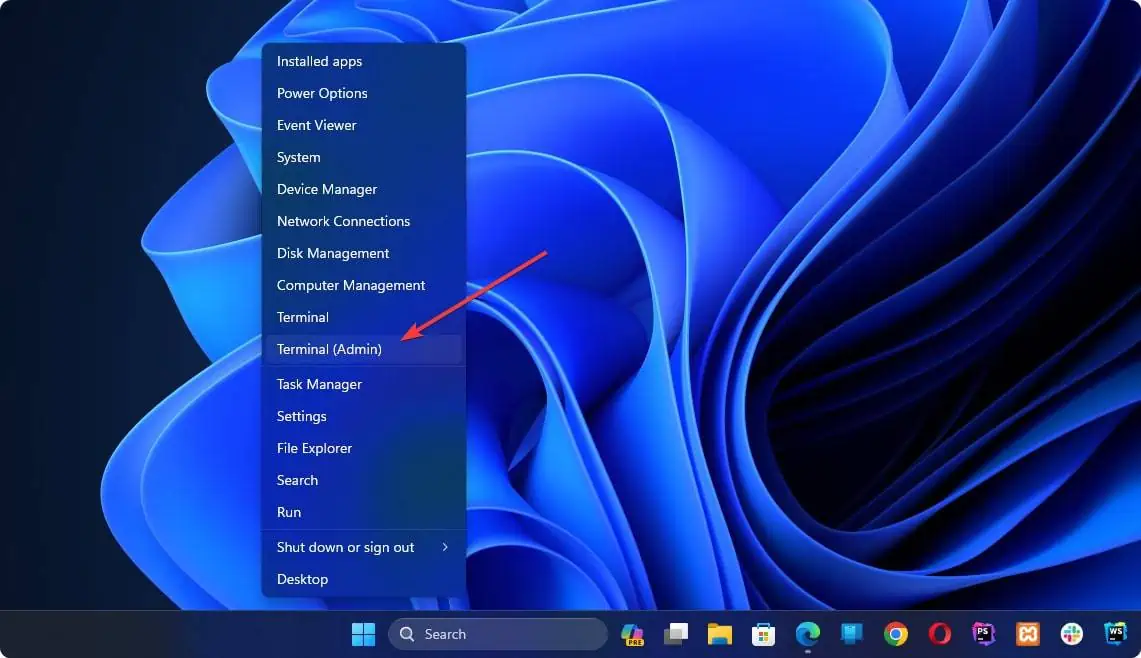
- Press the Win + X on the keyboard, and click on Terminal (Admin).

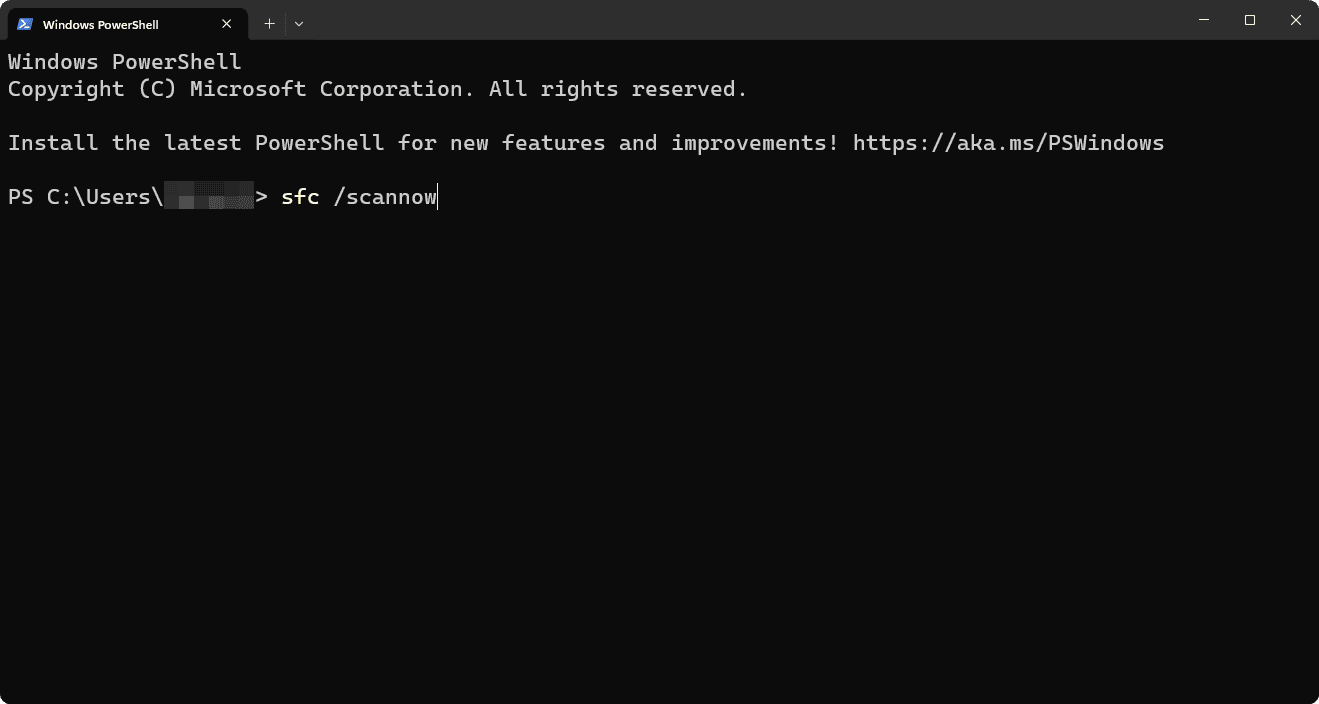
- Type the following command and hit Enter:
sfc /scannow
- Give it some time to finish the process.
Usually, it will take 5-10 minutes. But, you may experience even longer processing times depending on various things.
2. Run in Recovery Mode:
This method helps if you can't access Windows properly. Here are the steps to follow to run the SFC command in recovery mode:
- Let's assume you have reached the repair option after booting automatically or by using a bootable Windows media.
- Now click on Troubleshoot.
- Then, go to Advanced options and choose Command Prompt.
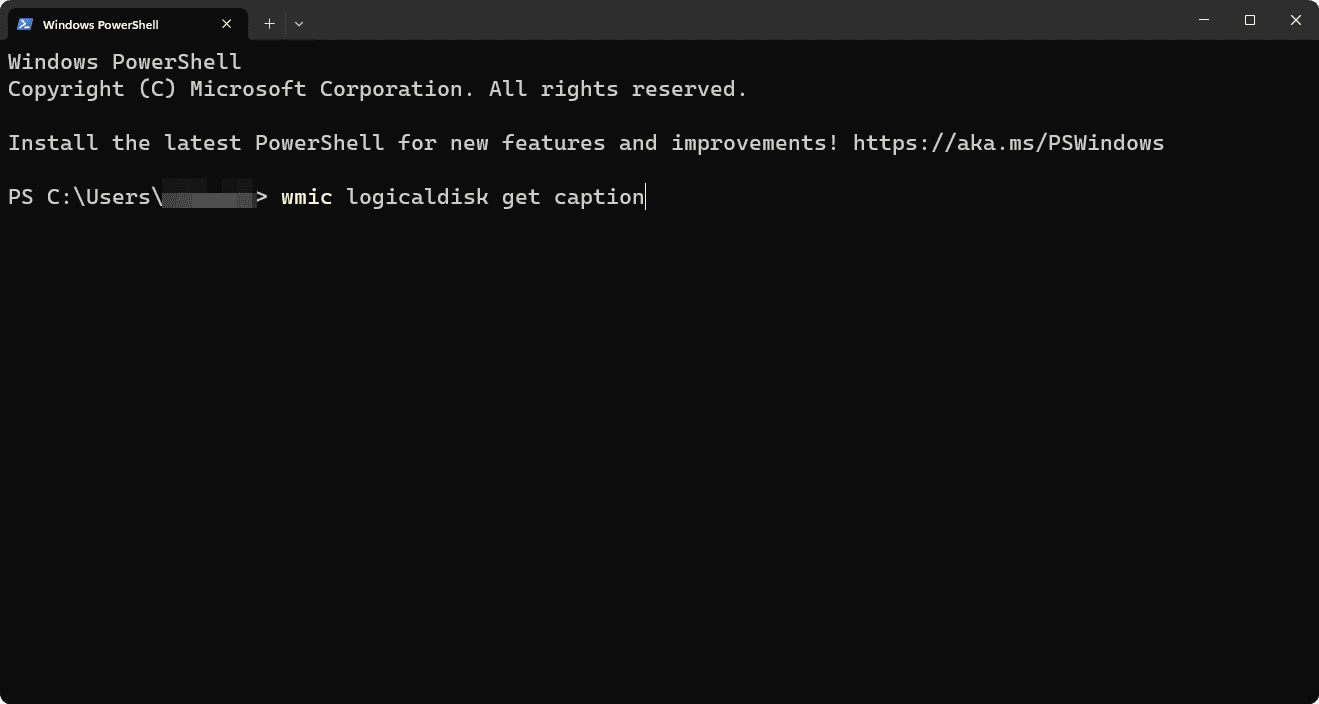
- Type the following command and press Enter:
wmic logicaldisk get caption
- Note down which drive letter contains Windows installation. In most cases, it should be C.
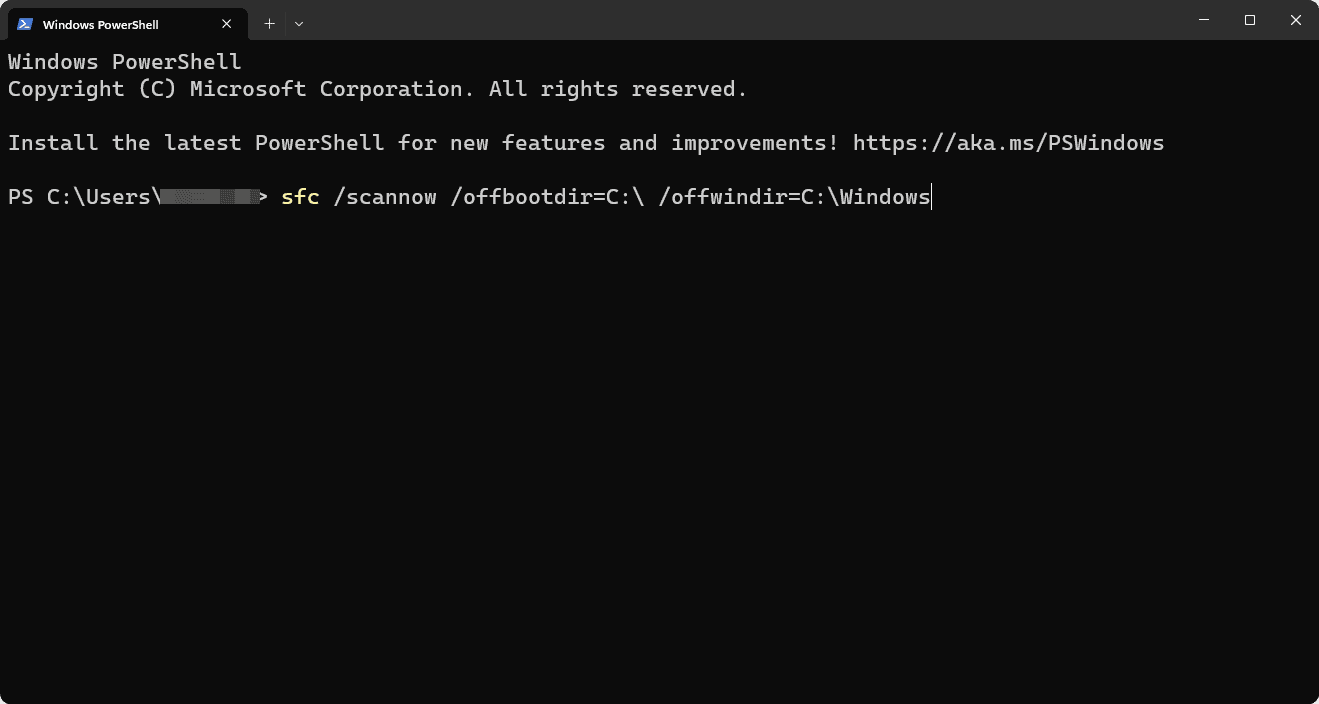
- Now type the following command and hit Enter:
sfc /scannow /offbootdir=C:\ /offwindir=C:\Windows
Note: You must replace the C: with your system drive letter. For example, it can be D:. - Give it some time to finish the process.
How to Analyze the Scan Results:
After the scan is completed, you will understand whether the process is successful or not. Usually, you will get the following messages:
- Windows Resource Protection did not find any integrity violations: Your system has no corrupted files.
- Windows Resource Protection found corrupt files and successfully repaired them: It indicates that the corrupted files were successfully repaired.
- Windows Resource Protection found corrupt files but was unable to fix some of them: Some corrupted files are still there. You will need to take additional actions.
In case the SFC fails to do its job, you should run the Deployment Image Servicing and Management (DISM) tool.
All SFC Command Line Options:
In the following table, you will find all of the SFC options and their usage:
| Command with option | Usage |
|---|---|
sfc /scannow | Scans all protected system files and repairs any corrupted ones it finds. |
sfc /verifyonly | Scans integrity of all protected system files but does not repair them. |
sfc /scanfile=<path> | Scans integrity of a specific file and attempts to repair it if corrupted. |
sfc /verifyfile=<path> | Verifies a specific file's integrity without repairing it. |
sfc /offbootdir=<path> /offwindir=<path> | Used to run SFC on an offline Windows installation (e.g., from recovery). |
sfc /? | Displays help for the SFC command. |
Depending on your use case, you can easily execute these commands.
Like me, you may go through unexpected Windows issues. In this case, the System File Checker will surely save you.
This article has explained why and how to use the SFC command effectively on a Windows 11 or 10 device. If you have any questions, let us know in the comment box.


