If you want to see the effectiveness immediately after changing DNS addresses, you should flush the DNS properly on Windows 11. This article will guide you on how to do it.
You may keep experiencing slow website loads or strange connection problems on a Windows 11 device, even after modifying DNS settings. Sometimes, a corrupted or outdated DNS cache is the culprit.
Flushing your DNS can help resolve these issues, ensuring your system fetches the latest IP address information for websites.
How Can You Flush DNS on Windows 11?
You'll follow simple steps to clear your DNS cache using built-in system tools, helping refresh your network settings and resolve browsing issues.
1. Use Terminal or Command Prompt
- Press Win + X on the keyboard to open the power menu and then click on Terminal (Admin).
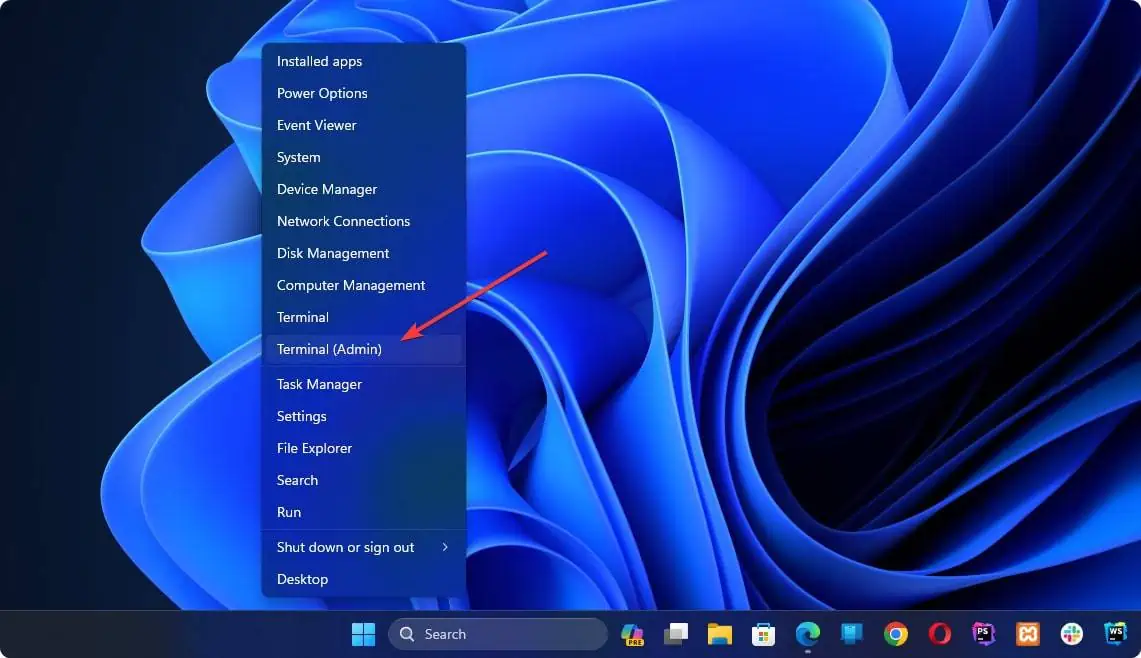
- If prompted by User Account Control, click Yes.
- Type the following command:
ipconfig /flushdns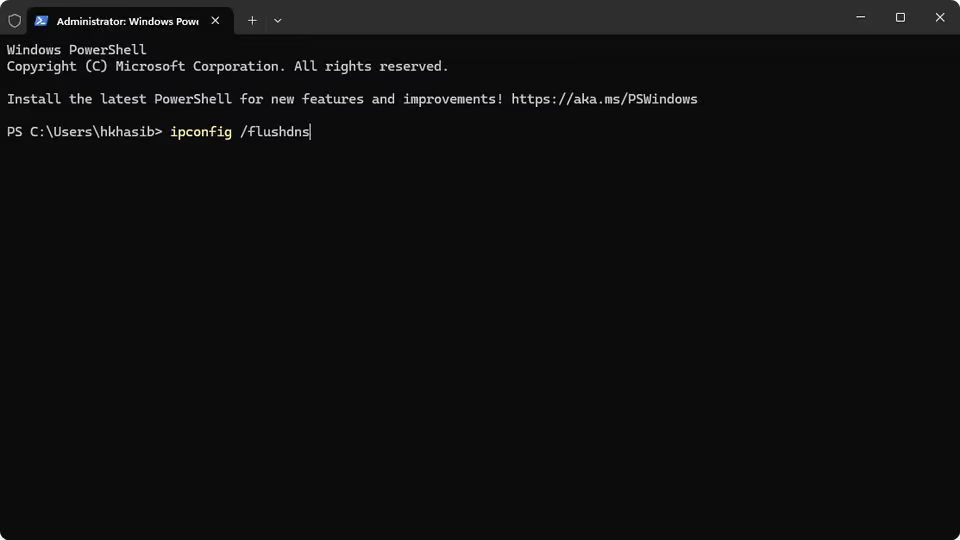
- Press Enter.
- You should see a message like: “Successfully flushed the DNS Resolver Cache.”
2. Restart Network Adapter (Optional)
- Press Win + I to open Windows Settings.
- Go to Network & Internet → Advanced network settings.
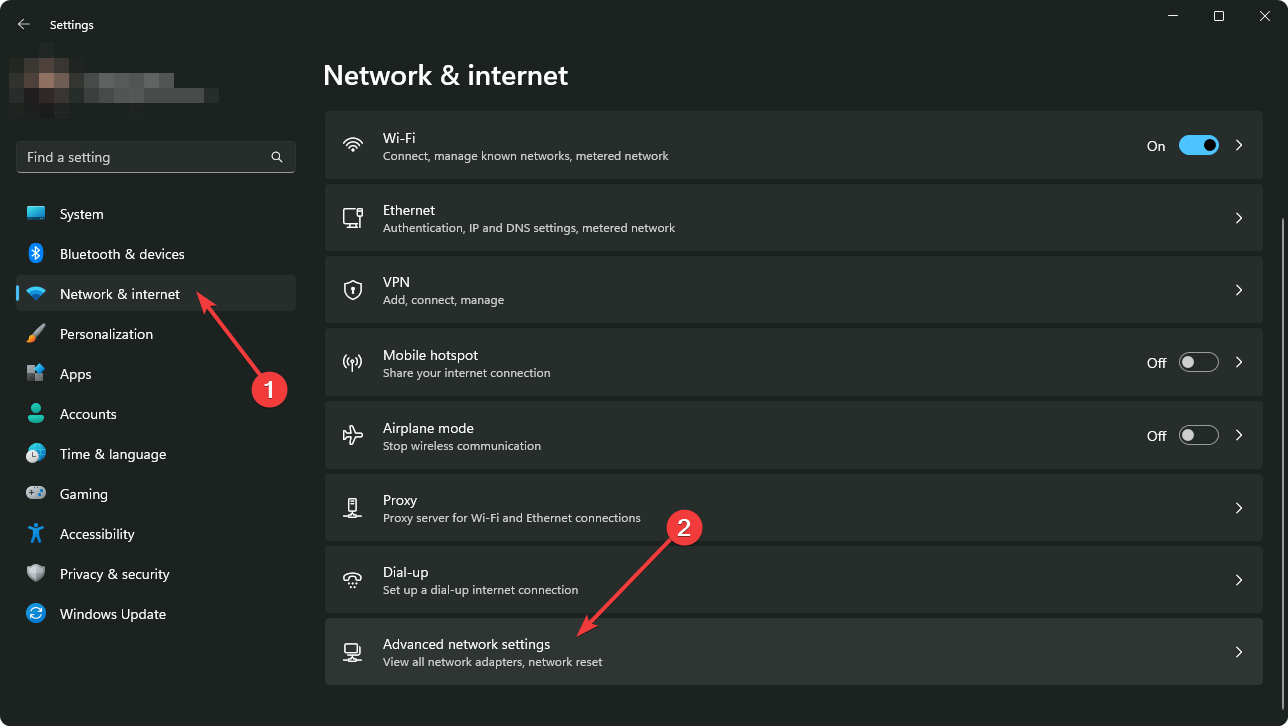
- Click Disable next to your network adapter. Wait a few seconds, then click Enable.
It also should flush the DNS.
3. Use Third-party Software
There are several DNS changers and flusher apps like QuickSetDNS. You can download one and use it to change and flush DNS on Windows 11 and 10.
Verify DNS Cache Has Been Flushed
- Open the terminal like before.
- Type the following command and hit Enter:
ipconfig /displaydns
- The list should be empty or show minimal system entries, confirming the DNS cache has been cleared.
Some third-party services help to identify DNS addresses. You can find one by searching on Google. If your new DNS address is visible, it means you have successfully changed and flushed the domain name server address.
Tips and Best Practices
- Flushing DNS is safe and won't disrupt your files or applications.
- Repeat these steps if you face persistent network or loading issues.
- Consider restarting your PC after flushing if you don't see immediate changes.
- Clear browser cache if DNS issues continue after flushing.
By following these steps, you can easily flush DNS on Windows 11 and enjoy smoother, hassle-free browsing.


