If you want to know how to use the DISM command on Windows 11 or 10 and also know a few more key information about it, go through this article.
Various system errors may appear for missing or corrupted files. To resolve it, you may need to run DISM.exe. However, to use DISM tool, you will need to follow certain important steps.
What is the DISM tool?
The full form of DISM is the Deployment Image Service and Management Tool. It is a command-line tool in Windows used for image deployment, servicing, and repair. It can add or remove packages, enable features, and repair Windows images.
To resolve system file-related issues on Windows 11, 10, or even any earlier versions, this is a very useful component that power users often use.
How can I run the DISM command?
To use the DISM tool, you must run specific commands. These are
1. Run the DISM CheckHealth Command
The CheckHeatlh option helps to check the image to see whether corruption has been detected. To run it, follow these steps:
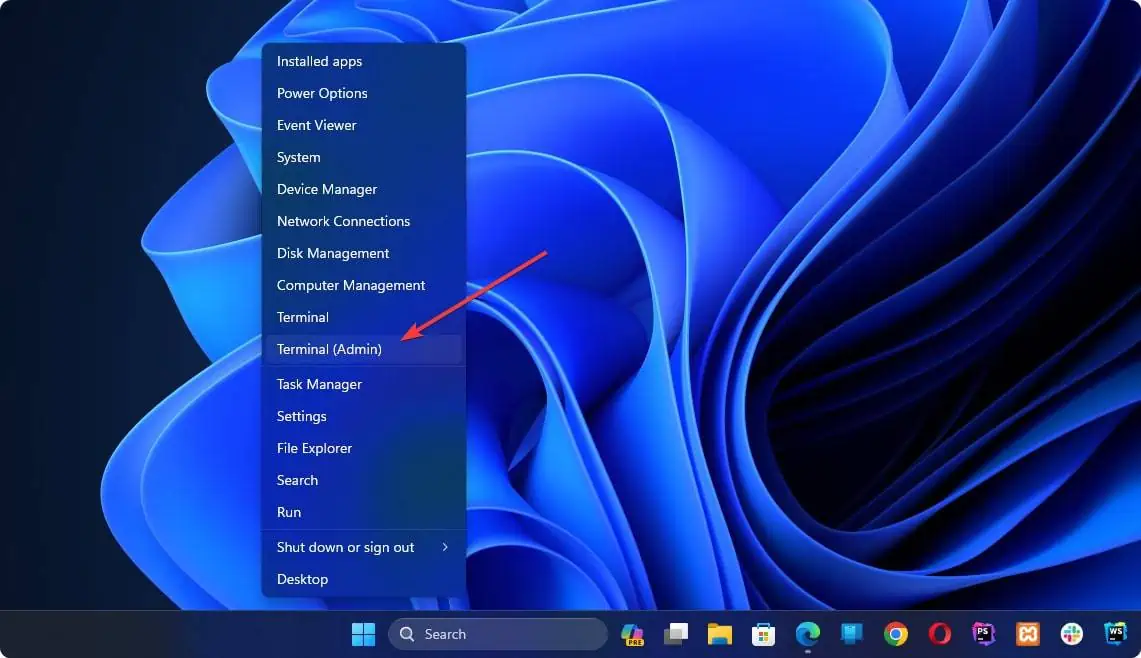
- Press Win + X on the keyboard.
- Click on Terminal (Admin).
- Type the following command and press Enter:
DISM /Online /Cleanup-Image /CheckHealth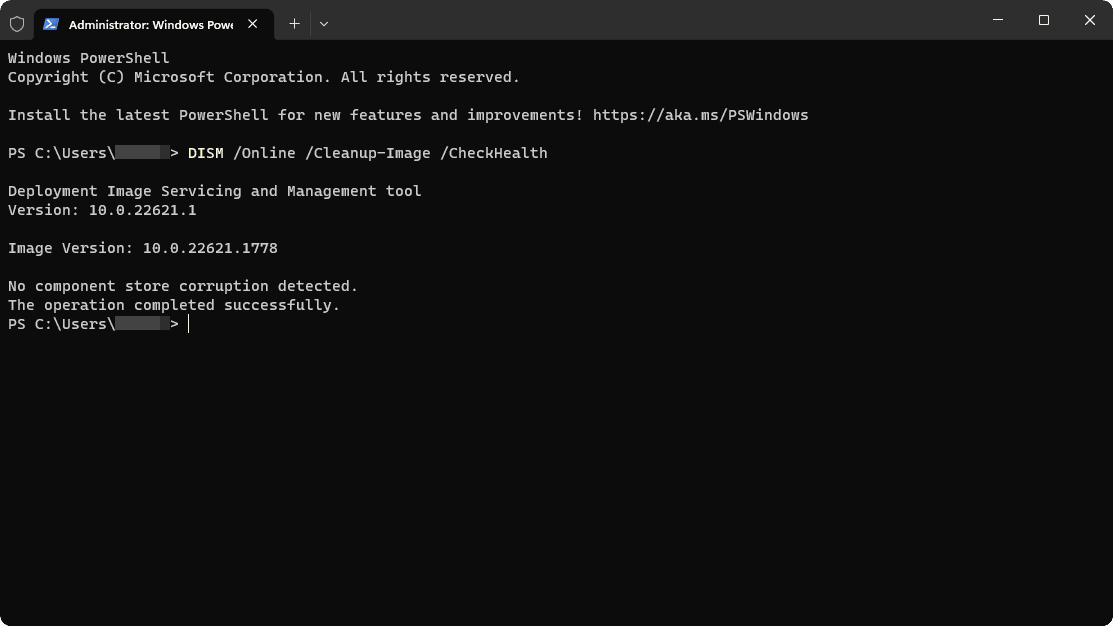
Now, wait for a while. Once the process is done, you will see if any violation is detected.
2. ScanHealth Option
This is similar to the previous one but a bit more powerful one to detect deep problems with the system components. To run this command, follow these steps:
- Open the Terminal (Admin) like before.
- Type the following command and hit Enter:
DISM /Online /Cleanup-Image /ScanHealth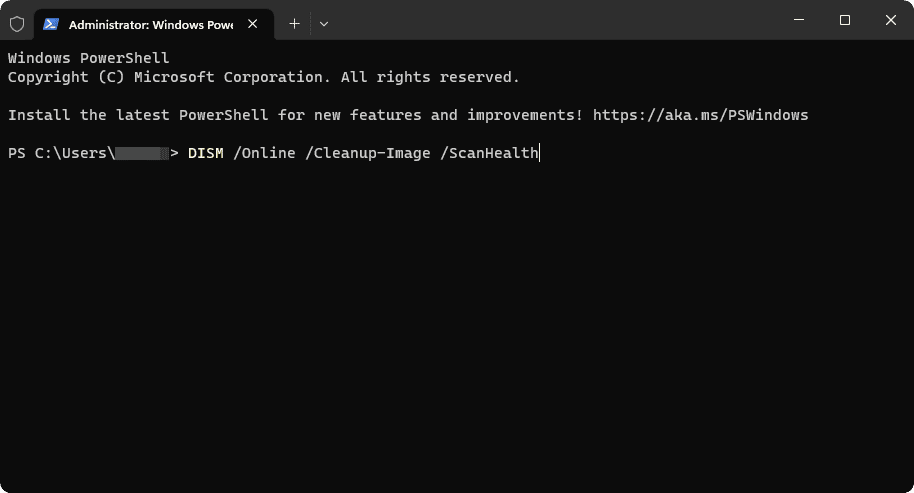
Like the previous command, it also may take some time to finish and show you the output.
3. Restore Health Option
To automatically scan and repair problems on the Windows system, the restore health DISM command is essential. Here are the steps to run it:
- Open the Terminal (Admin) again.
- Type the following command and hit Enter:
DISM /Online /Cleanup-Image /RestoreHealth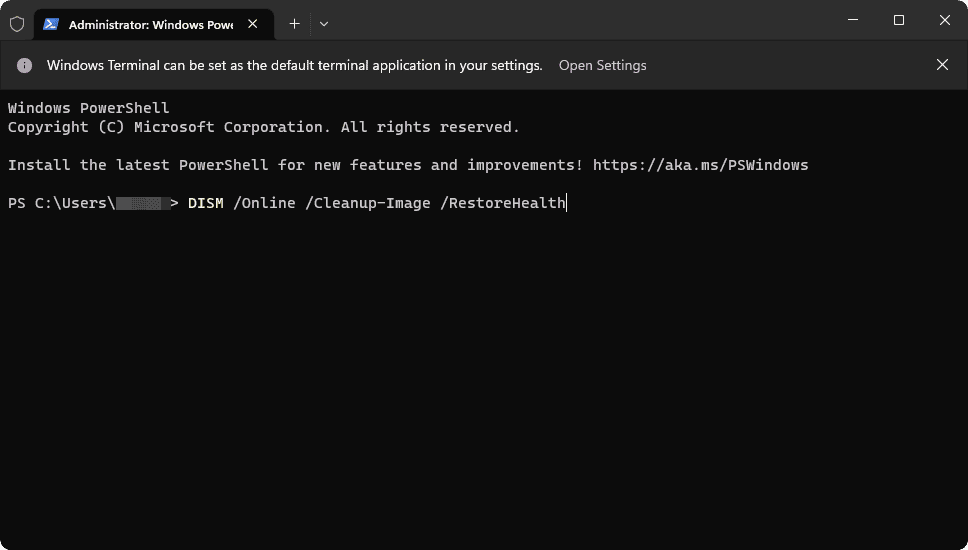
If this command can finish the process successfully, all problems are most probably solved. However, for even more advanced cases, you may need to run the DISM command a bit differently. For more details, follow the next section.
Run the DISM Command Using a Bootable Windows Disk
You also can use a bootable media to run the DISM command more effectively. To do it, follow these steps:
- Insert the bootable Windows media on your PC.
- Open the Terminal with administrative rights like before.
- Paste the following command and hit Enter:
DISM /Online /Cleanup-Image /RestoreHealth /Source:E:\Sources\install.wim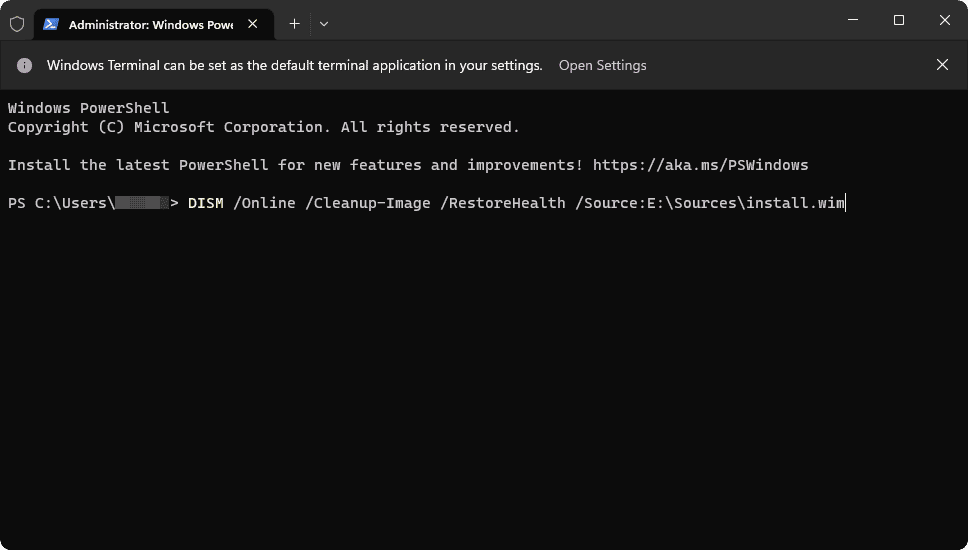
Note: In my case, the bootable media drive letter was E. So, I used "E:\Sources," in the command. It may be different in your case.
- If the above command doesn't work, run the following one:
DISM /Online /Cleanup-Image /RestoreHealth /Source:E\Sources\install.wim /LimitAccess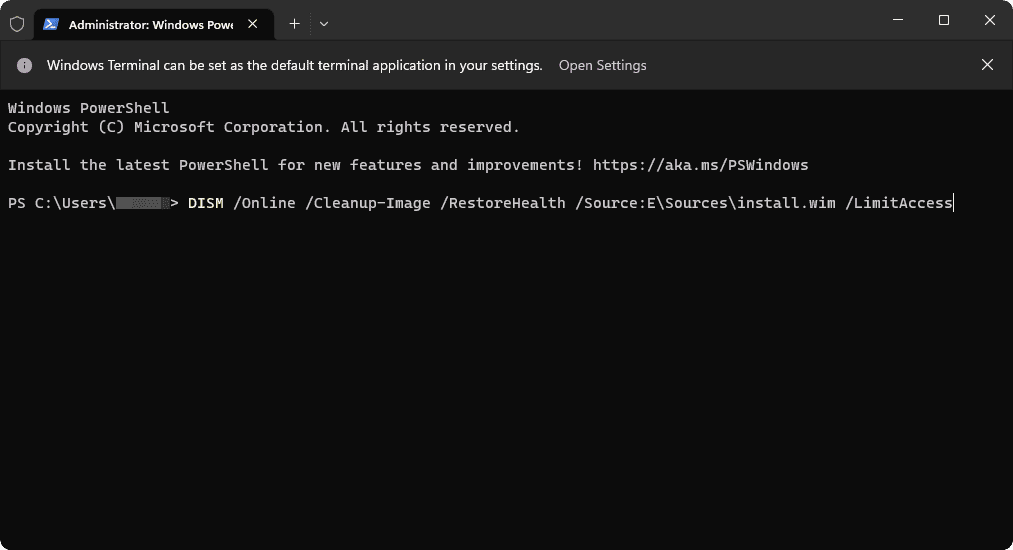
The above commands will make the Deployment Image Servicing and Management tool scan and repair the system file problems using the ".wim" file from the Windows installation media.
I hope this article has helped to learn how to run or use the DISM command on a modern Windows 11 or 10 PC. Do you have any questions on this? Feel free to ask in the comment box.


