
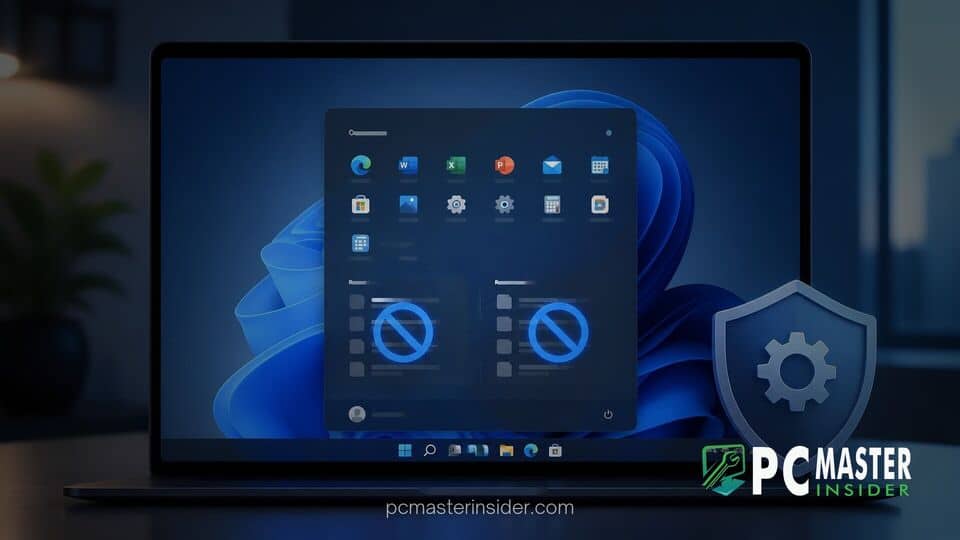
When you open the Start Menu in Windows 11, the bottom half of the interface is dominated by a dedicated section labeled "Recommended." Designed to help users quickly resume their workflow, this feature automatically populates with recently opened documents, downloaded images, and newly installed applications. However, for many users, this interface element feels more intrusive than helpful. It exposes personal file activity during presentations or screen shares and consumes valuable screen real estate that could otherwise display pinned shortcuts.
If you prefer a minimal, clean desktop environment, learning how to disable start menu recent files windows 11 options gives you complete control over your interface. Windows 11 provides native controls within its main configuration application and elevated management tools to remove these recommendations entirely. By tweaking a few simple toggles, you can prevent system-wide activity logging across the Start Menu and ensure your private document history stays completely confidential.
What You Will Learn in This Windows 11 Customization Guide
In this guide, you will learn how to completely clean up your Start Menu interface and manage operating system tracking options. Specifically, this article covers:
- Configuring native system privacy options to disable recent file tracking in the Start Menu and File Explorer.
- Hiding automatic app recommendations and newly installed program badges.
- Enforcing a system-wide policy using the Local Group Policy Editor to lock down recommended sections on professional builds.
- Clearing leftover activity caches so your historical data disappears immediately.
- Fine-tuning your overall layout to maximize space for pinned applications.
Whether you want to prevent visual distraction or stop accidental leaks of sensitive file names during video calls, following these steps will help tailor your OS environment to match your workflow.
Prerequisites for Customizing the Start Menu
Before modifying system preferences, ensure your system meets the basic requirements for making these configuration changes cleanly without administrative conflicts.
1. Verify Windows 11 Version and Build
Make sure your operating system is up to date, as Microsoft continuously updates system settings panels across major feature rollouts like Windows 11 servicing releases.
- Press Win + R on your keyboard to launch the Run dialog box.
- Type
winverinto the text prompt and press Enter or click OK. - Confirm that you are running Windows 11 Version 21H2 or newer in the pop-up window.
2. Ensure Administrator Privileges for System Policies
While basic toggles are accessible to standard local profiles, advanced policies require elevated administrative permissions.
- Open the Start Menu and type
User Accountsinto the search bar. - Select User Accounts from the control panel results.
- Verify that your account name lists Administrator underneath it before attempting Group Policy modifications.
Method 1: Disabling Recent Files via Windows 11 Settings
The standard way to disable start menu recent files windows 11 features is through the modern Settings application. This method allows you to toggle file tracking off without modifying system registries.
1. Turning Off Show Recently Opened Items
Disabling this preference prevents recently opened Word documents, PDFs, pictures, and media files from cluttering the Start interface.
- Press Win + I to open the main Settings window.
- From the left-hand navigation pane, click on Personalization.
- Scroll down the right menu panel and click on Start.
- Locate the toggle switch labeled Show recently opened items in Start, Jump Lists, and File Explorer.
- Click the switch to set it to Off.
2. Hiding Recently Added Apps
Whenever you install a new utility or game, Windows automatically promotes it in the Recommended section. You can stop this behavior easily.
- Remain inside the Settings > Personalization > Start menu page.
- Find the toggle labeled Show recently added apps.
- Click the toggle to turn it Off.
- Optionally, locate Show recommended tips, shortcuts, new apps, and more and switch it to Off to eliminate promotional suggestions.
Method 2: Hiding Recommendations Using Group Policy Editor
If you are managing enterprise devices or run Windows 11 Pro, Education, or Enterprise, you can use the Local Group Policy Editor to permanently hide the Recommended block. This is especially useful if system updates occasionally reset your local app settings, or if you want to streamline administrative profiles across modern hardware running specialized Windows 11 system controls.
1. Launching Local Group Policy Editor
Access the management console using elevated keyboard commands.
- Press Win + R to open the Run executable window.
- Type
gpedit.mscinto the run field and press Enter. - If prompted by User Account Control (UAC), click Yes to grant administrative approval.
2. Configuring the Recommended Section Policy
Navigate through the policy directory tree to disable Start interface logging completely.
- In the left sidebar, expand Computer Configuration > Administrative Templates > Start Menu and Taskbar.
- In the right pane, scroll through the setting list to locate Remove Recommended section from Start Menu.
- Double-click the policy entry to open its configuration settings panel.
- Select the Enabled radio button near the top left of the window.
- Click Apply, then click OK to finalize your system rule.
Method 3: Clearing Existing Recent Items History
Turning off recent file tracking prevents future activity from being displayed, but cached entries might occasionally remain stored in File Explorer quick access paths or jump list histories. You can manually purge these caches to preserve your privacy.
1. Purging History in File Explorer Options
Clear out the operating system's active file tracking cache to instantly scrub leftover recommendations.
- Press Win + E to launch File Explorer.
- Click the three horizontal dots (...) menu icon on the top command bar and choose Options.
- Ensure you are on the General tab in the Folder Options popup.
- Navigate down to the bottom Privacy section.
- Click the Clear button located next to Clear File Explorer history.
- Click Apply, then click OK to close the options popup window.
2. Resetting the Start Layout via Windows Terminal
If placeholder boxes persist in the layout, restarting the Shell Infrastructure Host forces Windows to rebuild the interface without cached items.
- Right-click the Start Menu button or press Win + X to bring up the Power User menu.
- Select Terminal or Command Prompt from the menu list.
- Type
taskkill /f /im explorer.exeand hit Enter to momentarily terminate the desktop shell. - Type
start explorer.exeand press Enter to reboot the interface shell with clean preferences.
Verifying Your Start Menu Layout
Once you have executed these adjustments, verifying your work ensures that unwanted recommendations remain hidden while maintaining full access to pinned software tools.
1. Checking the Recommended Space Reduction
Press Win or click the Start button on your taskbar. The Recommended section should now appear completely empty, showing a blank area or a simple confirmation message that recent files are disabled. While Windows 11 does not completely collapse the empty lower frame by default, disabling these options ensures zero personal files, downloads, or software suggestions ever populate the tray.
2. Selecting the More Pins Start Layout
To optimize the remaining screen real estate created by hiding recent files, you can adjust the layout distribution density:
- Open Settings (Win + I) and navigate back to Personalization > Start.
- Under the top Layout selection section, choose the More pins profile option.
- Close the settings window and press Win to view your updated Start Menu.
Selecting More pins expands your pinned applications grid downward, minimizing the unused blank area left behind by the disabled recommendations list.
Tips and Best Practices for Windows 11 Start Menu Customization
To maintain a fast, clean, and organized Windows 11 desktop experience over time, consider adopting these power-user recommendations:
- Group Pinned Apps into Folders: Drag application icons on top of one another within the Start Menu to create clean category folders (e.g., "Gaming," "Work," or "Utilities"). This compensates for the space reserved by the bottom section.
- Audit Privacy Settings Periodically: Feature updates can occasionally reset system tracking defaults. Regularly review your Settings > Privacy & security > Windows permissions tabs to verify that activity history remains disabled.
- Master Keyboard Navigation: Rely on fast global hotkeys like Win + S to launch search directly, bypassing visual Start Menu browsing altogether. If you experience unexpected input behaviors, checking hardware shortcuts or understanding how key combination features work—such as modernizing key responses like the Ctrl key mouse locator setting—can help streamline your general workflow.
- Manage Clipboard Privacy: If your goal in hiding recent items is data security, remember that copied text snippets can still persist in clipboard storage. Pressing Win + V opens your clipboard history, where you can clear sensitive strings or disable cloud sync entirely. If key combinations ever misbehave, troubleshooting Ctrl+C clipboard history issues can quickly restore reliable copy-paste operation.
- Review Taskbar Widgets: Further eliminate desktop distractions by turning off taskbar feeds and unwanted auto-prompts under Settings > Personalization > Taskbar, keeping your entire taskbar environment clean and minimal.
By taking advantage of these built-in customization tools, you can transform the Windows 11 Start Menu into a minimalist, privacy-focused launcher tailored strictly to your productivity needs.