
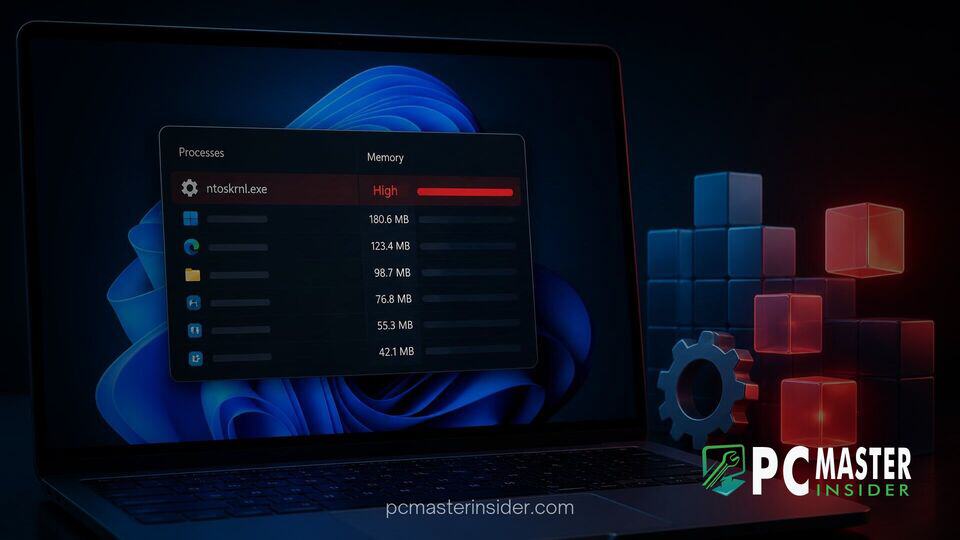
When your computer starts feeling sluggish during basic tasks, opening Task Manager often reveals that the System process (ntoskrnl.exe) is consuming gigabytes of system memory. If you are searching for a windows 11 ntoskrnl high memory usage fix, this guide outlines the underlying causes and provides effective solutions to recover your RAM.
The ntoskrnl.exe file—short for NT OS Kernel—is the core component of the Microsoft Windows operating system, responsible for managing system memory, hardware drivers, and fundamental kernel services. When this process exhibits unusually high RAM usage, the problem is rarely a glitch inside the kernel itself; instead, it is almost always caused by buggy third-party hardware drivers leaking memory into the Non-Paged Pool, misconfigured virtual memory paging files, or corrupt system files.
Understanding High System Process RAM Usage in Windows 11
Windows 11 utilizes memory compression and sophisticated kernel pool allocation to keep your system responsive. When applications request memory, the kernel allocates space within either the Paged Pool (which can be swapped out to your drive) or the Non-Paged Pool (which must remain in physical RAM at all times for low-latency kernel tasks). When faulty device drivers or background services misbehave, they allocate memory in the Non-Paged Pool without releasing it, causing the System process (represented by ntoskrnl.exe) to continually expand until system performance degrades.
Identifying Memory Leaks from Non-Paged Pool Drivers
To confirm whether your high System memory usage is driven by a driver-level leak, you need to check the kernel pool metrics in Windows 11. Open Task Manager by pressing Ctrl + Shift + Esc, navigate to the Performance tab, and select Memory. Look at the bottom of the window for the Non-paged pool statistic. On a healthy system, this value typically stays under 500 MB to 1 GB depending on installed hardware; if your Non-paged pool displays 4 GB, 8 GB, or more, a buggy hardware driver is leaking memory through the kernel executable. Identifying the exact driver tag requires tools like PoolMon (Pool Monitor) from the Windows Driver Kit, but resolving the most common driver culprits usually restores balance without complex debugging.
Step-by-Step Fixes for Ntoskrnl Memory Inflation
Before proceeding with advanced operating system repairs, perform these basic pre-checks to narrow down potential causes:
- Restart your PC: Perform a clean restart (select Restart, not Shut Down, to bypass Fast Startup) to check if memory usage temporarily resets.
- Check Task Manager: Confirm whether high RAM usage is tied directly to the System process or a third-party application.
- Disconnect external peripherals: Unplug unnecessary USB hubs, external capture cards, or legacy accessories to rule out faulty external device drivers.
- Create a System Restore point: Ensure you can easily roll back any changes made to registry keys or system drivers.
Updating System Chipset and Storage Drivers
Outdated or corrupt storage controllers and motherboard chipset drivers are the primary drivers of Non-Paged Pool leaks that bloat the System process.
- Right-click the Start button and select Device Manager from the Power User menu.
- Expand the IDE ATA/ATAPI controllers section, as well as Storage controllers.
- Right-click your main storage controller (such as your AHCI or NVMe controller) and choose Update driver.
- Select Search automatically for drivers to let Windows check for local driver updates.
- For best results, visit your motherboard manufacturer's support site (such as ASUS, MSI, Gigabyte, or ASRock) or CPU vendor page to download the latest chipset, RAID, and Network interface drivers manually.
- Reboot your computer after installing the updated hardware drivers.
Disabling SysMain and Memory Compression via PowerShell
The SysMain service (formerly known as Superfetch) and Windows Memory Compression store compressed application data inside the kernel pool, which can sometimes miscalculate limits and inflate ntoskrnl.exe memory usage.
- Press the Windows Key, type PowerShell, right-click Windows PowerShell, and choose Run as administrator.
- To stop and disable the SysMain service, type the following command and press Enter:
Stop-Service -Name "SysMain" -Force; Set-Service -Name "SysMain" -StartupType Disabled - Next, check if Windows Memory Compression is contributing to excessive RAM overhead by running:
Get-MMAgent - If MemoryCompression is listed as
Trueand your RAM usage remains pinned, disable it temporarily by entering:Disable-MMAgent -MemoryCompression - Restart your PC to evaluate if the System process memory footprint returns to normal baseline levels.
Running System File Checker and DISM Diagnostics
Corrupted system binaries can prevent the Windows kernel from releasing unneeded resources properly. Running native diagnostic suites repairs corrupted OS components.
- Press Windows Key + X and choose Terminal (Admin) or Command Prompt (Admin).
- Execute the Deployment Image Servicing and Management (DISM) tool first by entering:
DISM.exe /Online /Cleanup-image /Restorehealth - Wait for the DISM scan to complete to 100%. This tool downloads fresh system copies from Windows Update to repair corrupted repository files.
- Once DISM completes successfully, run the System File Checker scan:
sfc /scannow - Allow the scan to analyze integrity. If it reports that it found and successfully repaired damaged files, restart your PC.
Adjusting Virtual Memory and Paging File Settings
If the Windows virtual memory pagefile is misconfigured or set to a custom size that is too small, kernel allocations can get trapped in physical RAM under heavy workloads.
- Press Windows Key + R, type
sysdm.cpl, and press Enter to open System Properties. - Navigate to the Advanced tab and click on the Settings button under the Performance section.
- In the Performance Options window, select the Advanced tab and click Change... under Virtual memory.
- Ensure the box next to Automatically manage paging file size for all drives is checked.
- If it was already checked, uncheck it, select System managed size, click Set, and then re-check Automatically manage paging file size for all drives to reset pagefile allocations.
- Click OK, apply the changes, and restart your computer.
Disabling Runtime Broker and Background App Notifications
Certain background Windows services interact heavily with the kernel process, triggering memory leaks through Universal Windows Platform (UWP) apps.
- Open Settings by pressing Windows Key + I.
- Navigate to System and click on Notifications.
- Scroll down to the bottom and click on Additional settings.
- Uncheck Offer suggestions on how I can set up my device and Get tips and suggestions when I use Windows.
- Next, go to Apps > Installed apps, locate non-essential background applications, click the three dots, select Advanced options, and set Background apps permissions to Never.
For users who troubleshoot system crashes alongside high RAM consumption, Windows 11 features built-in crash logging mechanisms. For instance, Windows 11 captures emergency kernel crash dumps on forced shutdown, helping Microsoft and developers diagnose stubborn system freezes and memory corruption issues.
Preventing Future Driver-Level Memory Leaks
To prevent ntoskrnl.exe high memory usage from recurring in Windows 11, maintain strict driver hygiene. Regularly update your dedicated GPU and motherboard chipset drivers directly from original manufacturer websites rather than relying solely on generic Windows Update drivers. Furthermore, avoid installing unnecessary third-party system optimization utilities, registry cleaners, or virtual network adapters, as these background services frequently introduce unpatched memory leaks into the Non-Paged Pool.
Applying an effective windows 11 ntoskrnl high memory usage fix restores your PC's responsiveness without requiring expensive hardware upgrades. By updating buggy drivers, repairing corrupt system files, and tweaking kernel memory services, you ensure that your system RAM remains available for the applications that matter most.