
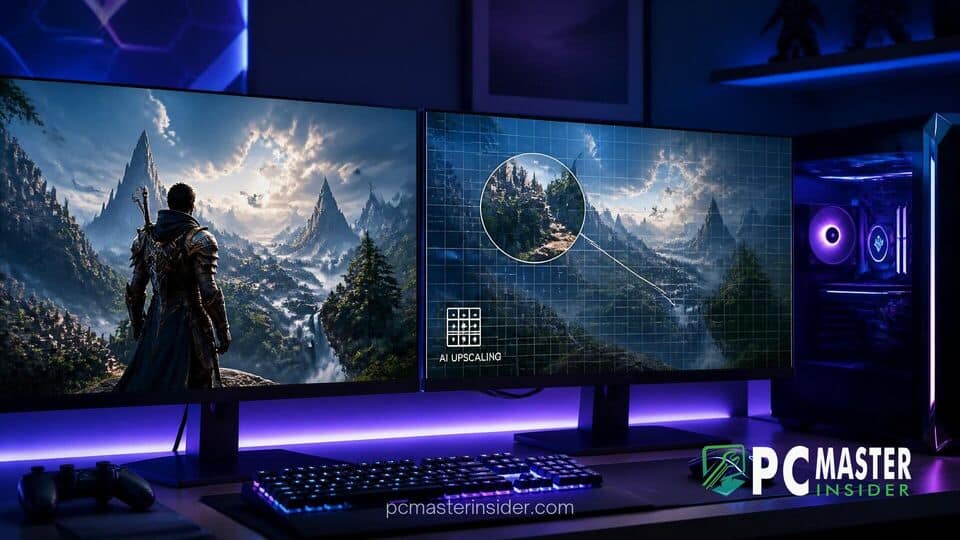
Gamers often face a tough trade-off between visual fidelity and performance. Raising game resolutions crispens textures and sharpens text, but it taxes hardware and lowers frame rates. Conversely, lowering render resolutions improves smoothness at the cost of blurry visuals. While game-specific technologies like NVIDIA DLSS, AMD FSR, and Intel XeSS solve this for supported titles, thousands of older or indie games lack native upscaling integrations.
To bridge this gap, Microsoft introduced Automatic Super Resolution (Auto SR) natively into Windows 11. Auto SR uses on-device artificial intelligence offloaded to a Neural Processing Unit (NPU) to automatically upscale render resolutions in real-time, delivering high-definition visual effects alongside high frame rates without developer patching. If you want to configure Windows 11 Auto Super Resolution to unlock optimal gaming performance across your PC library, this guide covers everything you need to know.
What You Will Learn in This Guide
By following this article, you will gain a complete understanding of Windows 11 Auto Super Resolution and how to tailor it to your system. Specifically, you will learn:
- The exact hardware, display, operating system, and driver prerequisites required to use Auto SR.
- How to globally enable or disable Auto SR within the main Windows 11 Settings app.
- How to customize per-game upscaling profiles, resolution targets, and graphics preferences.
- How to benchmark image quality and frame rates using built-in Windows diagnostic tools like Game Bar.
- Key best practices to minimize input latency and prevent visual artifacts.
Requirements for Running Auto SR in Windows 11
Before attempting to configure Windows 11 Auto Super Resolution, ensure your PC hardware and system software meet Microsoft's official prerequisites. Auto SR relies heavily on specialized hardware architecture and native operating system pipelines.
1. Supported NPU Hardware and GPU Compatibility
Unlike traditional GPU-driven spatial upscalers, Auto SR offloads heavy machine learning calculations directly onto a dedicated Neural Processing Unit (NPU). To run Auto SR, your system must meet these hardware standards:
- Copilot+ PC Architecture: You must own an eligible Copilot+ PC powered by supported silicon containing an integrated NPU capable of delivering at least 40 TOPS (Trillion Operations Per Second). Supported processors include Qualcomm Snapdragon X/X2 Series chips (such as Hexagon NPU platforms) as well as eligible AMD Ryzen AI and Intel Core Ultra processors equipped with compliant NPUs.
- Compatible Graphics Subsystem: The system must feature integrated or discrete graphics capable of executing DirectX 11 or DirectX 12 render pipelines natively or through official translation layers.
- System Memory: Microsoft requires a minimum of 16 GB of unified RAM to maintain background AI models while hosting modern game titles.
2. Windows 11 Build and Display Requirements
System software compatibility is essential for the underlying DirectSR and Auto SR frameworks to function correctly:
- Windows 11 Version 24H2 or Later: Check your operating system by pressing Win + R, typing
winver, and hitting Enter. Auto SR is integrated directly into Windows 11 Build 24H2 and newer updates. - Display Resolution: Your connected primary monitor must support a native display resolution of 1080p (1920x1080) or higher. Auto SR operates by taking lower internal render inputs (typically between 700p and 900p) and upscaling them to match your native screen resolution.
- Updated NPU and GPU Drivers: Open Windows Settings (Win + I), navigate to Windows Update, and select Check for updates to install the latest platform drivers supplied by OEM manufacturers, Qualcomm, AMD, Intel, or NVIDIA.
Step-by-Step Guide to Enabling Auto Super Resolution
Once hardware and software requirements are confirmed, you can proceed to activate Auto SR globally and configure custom rules on a game-by-game basis.
1. Activating Auto SR in Windows Display Settings
To enable the main system switch for Auto SR, follow these simple navigation steps in Windows 11:
- Press the keyboard shortcut Win + I to open the main Settings app.
- In the left sidebar, click on System, then select Display from the main menu panel.
- Scroll down to the Related settings section and click on Graphics.
- Under the Default settings section, locate the toggle labeled Automatic super resolution.
- Switch the toggle switch to the On position.
- Reboot your PC if prompted by the system to ensure the NPU background services initialize properly.
2. Configuring Per-Game Resolution and Scaling Profiles
While global activation enables Auto SR for supported titles out-of-the-box, fine-tuning individual games provides optimal image clarity and frame rate consistency.
- Open Settings (Win + I) and return to System > Display > Graphics.
- Scroll down to the list labeled Custom options for apps.
- Browse the list for your specific game executable. If the game is missing, click Add an app, choose Desktop app, click Browse, select the main
.exefile of the game, and click Add. - Select your game from the list and click on Options.
- Under the Automatic super resolution section inside the pop-up dialog box, select On from the drop-down menu to force-enable AI upscaling for that title, or choose Off if you prefer native resolution.
- Launch your game and open its internal Graphics / Video Settings menu.
- Change the in-game display resolution to an lower input target, such as 1280x800 (800p) or 1280x720 (720p). Auto SR automatically intercepts this render output and upscales it directly to your display's native resolution (e.g., 1080p, 1440p, or 4K).
- Ensure the game is set to run in Exclusive Fullscreen or Borderless Windowed mode to allow Windows 11 graphics compositing to apply the NPU post-processing layer.
Benchmarking Auto SR Image Quality and Gaming Frame Rates
After configuring Windows 11 Auto Super Resolution for your favorite games, you should verify its real-world performance impact and measure your performance gains.
1. Monitoring Performance via Xbox Game Bar
Microsoft includes native overlay integration for Auto SR inside the Windows 11 Xbox Game Bar:
- Launch the game you configured for Auto SR upscaling.
- Press Win + G to bring up the Xbox Game Bar overlay.
- Look for the dedicated Auto SR / Display Widget on screen. A system toast notification reading "Auto SR is active" should also confirm activation upon game launch.
- Check the widget metrics to verify the incoming render resolution (e.g., 1280x800) and outgoing output resolution (e.g., 2560x1400).
- Use the Performance Widget in Game Bar (Win + G) to pin your real-time frames-per-second (FPS), CPU usage, GPU load, and NPU activity.
2. Evaluating Visual Fidelity and Latency
Evaluating upscaled visual quality requires checking for sharp geometry while ensuring minimal input latency:
- Observe micro-details such as fine foliage, character hair, distant edges, and user interface (UI) text elements. Auto SR uses spatial machine-learning algorithms to restore clean edges without temporal artifacts.
- If fast-paced motion creates blurring or ghosting, open the in-game settings and disable aggressive motion blur or chromatic aberration effects.
- Check input responsiveness. AI processing on the NPU introduces a tiny processing frame time (typically ~12ms depending on the chip model). For competitive fast-paced eSports shooters, native resolution or low latency modes may be preferable, whereas narrative single-player titles benefit massively from the visual trade-off.
Tips and Best Practices for Auto Super Resolution
To maximize stability, battery efficiency, and image sharpening when using Auto SR on Windows 11, keep these expert tips in mind:
- Target Ideal Input Resolutions: For optimal machine learning upscaling quality on standard screens, set your in-game display resolution to 1280x800 (16:10) or 1280x720 (16:9). Auto SR performs best when upscaling from resolutions between 700p and 900p.
- Do Not Stack Upscalers: Avoid enabling in-game upscalers (like FSR or XeSS) alongside Windows Auto SR simultaneously. Stacking multiple upscaling algorithms introduces severe visual artifacts, reduced image clarity, and compounding input lag.
- Keep Drivers Updated: NPU scheduling models and DirectSR integrations evolve rapidly through Windows Update and hardware vendor releases. Keep graphics and NPU drivers fully up to date.
- Optimize Windows Power Plan: On laptops, ensure your Windows Power Mode is set to Best performance in Settings > System > Power & battery. This prevents Windows from throttling NPU TOPS allocation during gameplay.
- Check Runtimes Compatibility: Auto SR currently targets DirectX 11 and DirectX 12 x64 and Arm64 games. Legacy DirectX 9, Vulkan, or OpenGL titles may not automatically trigger the Auto SR pipeline.
By properly configuring Windows 11 Auto Super Resolution, you can enjoy crisp visual quality and smooth frame rates across your gaming library without sacrificing your hardware's battery life or raw compute power.